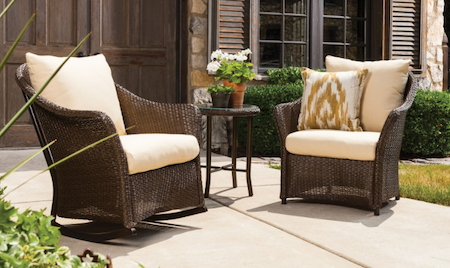
5 Simple Steps to Prepare Your Outdoor Patio Space
The snow and ice has (mostly) melted, the days are getting longer, and if you are like us, we are itching to enjoy the outdoors!
We can’t deny that we are missing Friday night fish fry and Old Fashioneds at the local supper club, but we are ready to watch the sun set on the patio while firing up the grill. After all, summer in Wisconsin is what we all live for, right?
Well, good news… even if we can’t invite our family, friends, and neighbors over just yet, now is the perfect time to start preparing your patio for the summer season ahead. We hope these 5 simple steps make your annual outdoor furniture maintenance and patio preparation a breeze!
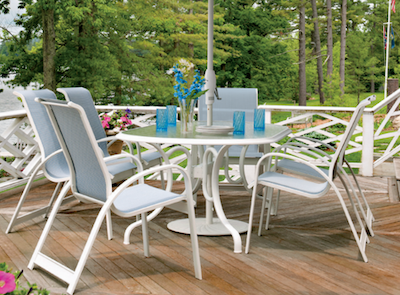
1. Clean your floors
Before you move any of your furniture out of storage and onto the deck or patio, make sure you have a freshly cleaned surface, free of the dirt and debris that winter leaves behind.
Hose down the wood or cement and make sure there is no damage from the cold. How terrible would it be to step on a nail that popped up just because you hadn’t completed your annual inspection? Ouch!
Once everything is as it should be, lay down your outdoor rugs. Whether they have been outside in the elements all winter, or rolled up and tucked away in the garage or basement, they are likely fairly dirty. Vacuum them, if that will do the trick, or hose those down if they are filthy. Then hang them to dry, if possible, in order to remove any excess moisture.
After they are clean and dry, you are ready to lay them down and start hauling out your furniture.
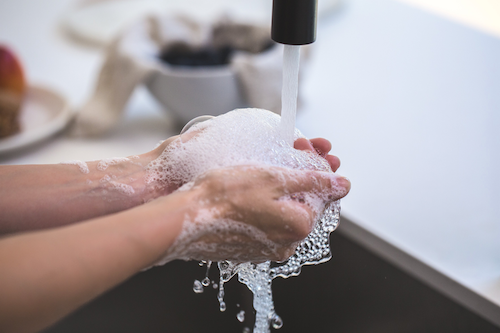
2. Prepare your furniture
No matter what material your outdoor furniture is made of, it will likely require a little bit of upkeep each spring in order to keep it looking fresh and inviting for your friends, family, and future guests. Here are a few tips and tricks specific to each material that will help you keep your chairs, tables, etc. in top shape:
-
Natural Wicker
- Always start by vacuuming natural wicker well.
- Once you have removed the larger debris and any cobwebs, wipe it down with a damp rag.
- Remember that detergents and soap don’t play nicely with natural wicker, so simply use water during your cleaning process for best results.
-
Weatherproof Wicker(Resin) and Recycled Plastic
- Start by hosing it down to remove dirt, dust, and water spots that may have appeared over the winter.
- For tougher stains, use a little dishwashing soap on a wet rag.
- Whatever you do, do NOT use a power washer. This will roughen up the surface of your furniture.
-
Aluminum Sling
- Just like weatherproof wicker and recycled plastic, start by hosing aluminum sling down to remove dirt, dust, and water spots.
- Again, for water spots, dirt, etc., use a little dishwashing soap on a wet rag.
- If that doesn’t work for some reason, spot removers are available for aluminum furniture and slings, but always check with the manufacturer before using them to ensure that you don’t harm your furniture.
-
Cast Iron
- Before you do anything, check for rust spots.
- If you find some, these areas should be cleaned thoroughly, sanded lightly, and repainted.
- Once the paint is dry, wipe down the entire surface with a damp cloth.
-
Wood
- Start by checking for any loose screws and tightening them, as needed.
- Clean your furniture according to the manufacturer’s recommendations.
- If your furniture has lost its luster, it may be time to re-stain it, which is something you can easily do yourself, as long as you follow the manufacturer’s instructions.

3. Take care of your tabletops
If you have tabletops of the same material as your chairs, you can use the steps listed above. If you have tables in other materials, natural stone, granite, or even mosaic tabletops… we have some tips for you too!
Start by cleaning your stone, granite, or mosaic surface. When you purchased the table, you were probably given instructions on how best to clean the surface…make sure you follow the manufacturer’s recommendations for best results.
Once the surface is clean, we suggest re-sealing it annually to increase the longevity of your table. Again, you should have manufacturer instructions about how to complete the re-sealing process, but if you need help, don’t hesitate to call us or ask for help at your local home improvement store, when open. Any of us are willing to point you in the right direction!
Just make sure you give the sealant ample time to dry before using your table for the first time this season. Yes, we have heard of many people who learned that one the hard way.
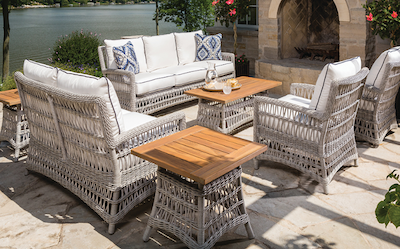
4. Check your cushions
We don’t know about you, but our cushions start to get that musty smell when they sit in storage all winter. Now is a great time to get them smelling fresh and ready for lots of use this summer.
Start by airing them out, checking for stains, and inspecting for critter damage. Spot clean them where you can and allow them to breathe in the fresh air for a while to relieve any odors.
If you are lucky enough to have the kind of cushions where the cases can be removed, machine wash them in cold water on a delicate cycle and air dry them (always following the manufacturer’s recommendations, of course… do we sound like broken records yet?).
If you remove the cases and airing them out doesn’t seem to do the trick, it might be a good year to replace those cushions. After all, everyone loves a little upgrade. This might be the perfect time to add some new colors or patterns to your outdoor living space. (We can help!)
5. Come visit us!
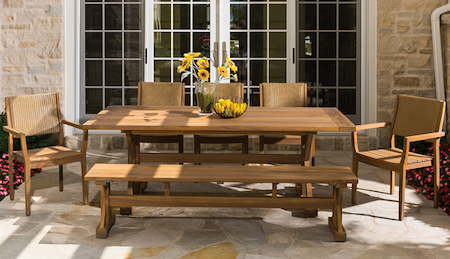
Whether you know that your current patio furniture has reached the end of its life or you are just curious to see what else is out there, we would love to help. We suggest making a list for May 26th (fingers crossed that date sticks!) when you can finally stop in to our store. We have all your outdoor essentials, including Lloyd Flanders special order outdoor furniture!
We hope that this patio prepping guide helps you get your patio back into shape, and we can’t wait to help you prepare to host the best post-pandemic cookout of the summer. 🙂
Until next month,
The Lakeside Living Team


